Wire or cable: understand what you are really buying
Rigid wire, flexible wire, multicore cable: typical uses (worksite vs workshop)
Before talking about “cross-section”, you first need to be sure about the format.
-
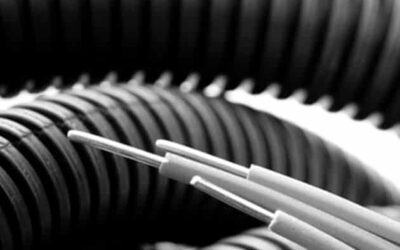
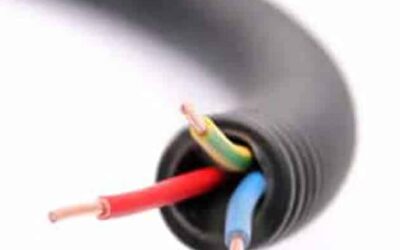
Wire (insulated conductor): a single conductor with its insulation. It is typically used inside ICTA conduit, trunking, IRL tube or another protected routing system.
Advantage: design flexibility (you build your circuits yourself), availability and controlled cost.
Limitation: pulling, identification and overall neatness need to be managed carefully, especially when the installation becomes dense. -
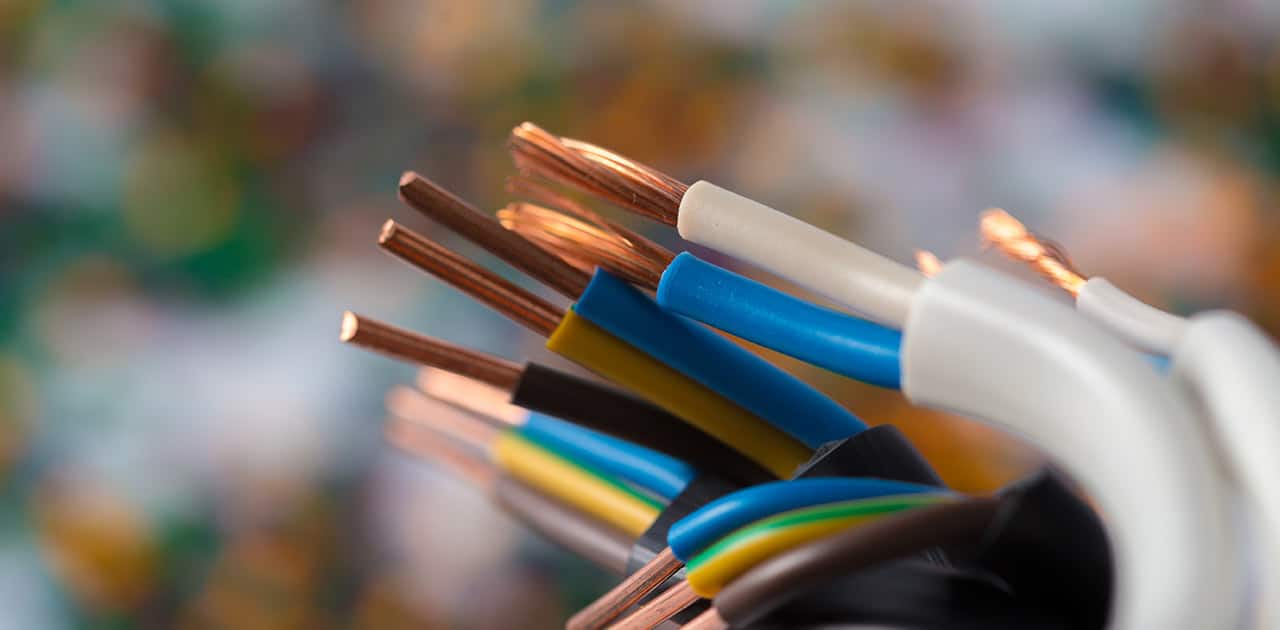
Cable: several conductors grouped together inside a common sheath (for example 3G2.5).
Advantage: quick to install for certain connections, more “compact”, and often very practical for distribution, outdoor use and fixed connections.
Limitation: less modular, sometimes stiffer, and trying to do everything “with cable” can make the job unnecessarily complicated. -
Rigid vs flexible (in practice):
- rigid wire holds itself better, keeps its shape in the panel and “runs straight” when you need a neat result.
- flexible wire is easier to position in tight areas and bends without force, but it requires rigour when making connections (ferrules, suitable tightening, identification).
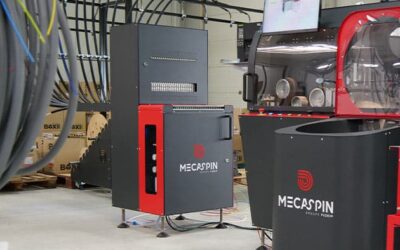
On site, rigid wire is often used for “standard” circuits. In the workshop, the reasoning is more pragmatic: what matters is repeatability. If you pre-wire conduits in series, the “right choice” is the one that runs smoothly through your process without multiplying rework and small errors (wrong colour, wrong starting point, poor identification). This is also why complete “ready-to-produce” installations exist around the wiring process, with sorting, labelling and spool-feeding modules.
What is the difference between H07V-U, H07V-R and H07V-K?
On site, the trap is to reduce the issue to “flexible = better”. It is not that simple. Flexible wire may be more pleasant to handle, but it does not tolerate approximation well: without a ferrule, you can quickly end up with a strand escaping, uneven tightening or a conductor being marked. By contrast, rigid wire is more forgiving and holds its shape well, especially when you are creating neat alignments in the panel.
The same logic applies in the workshop: flexible wire can help when routes are tortuous, but success depends on the process (identification, cutting, label application, spool organisation). Industrial pre-wiring solutions are specifically designed to secure these stages (cutting to length, labelling, coiling) and avoid rework.
Reading a reference: sheath, voltage, materials and number of conductors (without making mistakes)
Knowing how to decode a reference is a superpower in the shop. It avoids the “I’ll choose by feel” approach — and above all, buying something that forces you to come back.
Let us take a common reference: U-1000 R2V 3G2.5 (very common for fixed connections).
- U-1000: the cable family / voltage class (low-voltage distribution use, typically 0.6/1 kV).
- R2V: the construction (insulation + sheath) of a cable designed for fixed installation, robust and very widely used in buildings.
- 3G2.5: 3 conductors of 2.5 mm² with earth included (“G” = presence of the green/yellow conductor).
Two details often save time:
- “G” vs “x”: “G” means there is a protective conductor. “3×2.5” does not necessarily imply an earth conductor.
- The number of conductors: many mistakes come from incorrect counting. You think “one phase, one neutral, one earth”, then forget the actual requirement (switched live, two-way switching wire, control wire, etc.).
How do you read “U-1000 R2V 3G2.5” without jargon?
The right reflex is to immediately picture the final use:
- Supplying a sub-distribution board? You will often need an integrated earth, so “G” makes sense.
- Connecting a device that requires phase/neutral/earth + control? You are no longer dealing with 3 conductors.
In the workshop, the same logic applies, but on a larger scale: the more the number of references expands (colours, cross-sections, diameters), the more expensive errors become. This is why some workshops use organised sorting and feeding systems (sorters, dispensers, identification) to improve reliability.
Do you have a project? Contact us
Choosing the cross-section: the simple method (circuit, protection, length)
The basic logic: current, power, heating… and a little common sense
A cross-section is not a number chosen “at random”. It has two very practical purposes:
- Limit conductor heating (and therefore risk and wear over time).
- Limit voltage drop when distance starts to matter.
For a “standard” domestic installation, the reasoning is simple: circuit type → protection (circuit breaker) → cross-section. The NF C 15-100 standard provides a framework, but on site the objective remains the same: a correctly sized conductor, correctly protected and installed under the right conditions.
What causes choices to go wrong is generally one of these scenarios:
- copying a diagram “seen online” without taking the actual length into account;
- adding new uses later (workshop, better-equipped kitchen, charging point, air conditioning, etc.);
- assuming “bigger = necessarily better” (when it can sometimes complicate wiring, pulling and panel organisation);
- sizing for “today” when the installation is intended to last 20 years.
The right approach is to keep it simple: size correctly, allow a reasonable margin where relevant (outbuilding, kitchen, outdoors), and above all do not overlook the distance.
What cross-section for sockets: 1.5 mm² or 2.5 mm²?
On site, the “1.5 or 2.5?” question often comes up in renovation work. My pragmatic view: if you are unsure, 2.5 mm² on a conventional socket circuit is often the most reassuring choice, especially if:
- you do not know exactly what the customer will plug in two years from now,
- your cable runs are fairly long,
- you want to avoid call-backs for “sockets that trip”.
On the other hand, “putting 2.5 everywhere” does not make sense either: it makes pulling heavier, fills conduits more quickly and can sometimes complicate the panel without providing any useful benefit.
Lighting, heating and specialised circuits: practical decisions (without turning it into a spreadsheet exercise)
Most common cases can be summarised as follows:
- Lighting: often 1.5 mm², with suitable protection. It is light, easy to pull and more than sufficient when lengths remain reasonable and the circuit is used for lighting (LED, etc.).
- “General-purpose” sockets: very often 2.5 mm², to retain some margin and limit unpleasant surprises (kitchen, office, living room, etc.).
-
Specialised circuits (oven, washing machine, tumble dryer, etc.):
here, you do not “guess”. Start from the requirement, power and usual prescriptions, and size it properly with a dedicated circuit. - Hob / high-power loads: typically a larger cross-section, and above all a dedicated circuit.
Distance changes everything. A lighting circuit using 1.5 mm² over 8 metres is one thing. The same circuit over 40 metres to reach the far end of the garden is another matter.
How do you manage voltage drop when the circuit is long (outbuilding, gate, outdoor lighting)?
Imagine an outbuilding with a few sockets and lighting. On paper, you might be able to stay with a “standard” cross-section. But at 30–50 metres, the calculation changes quickly: length increases voltage drop, and what seemed “OK” becomes a source of problems (weak sockets, a circuit breaker that trips when a tool starts, etc.).
A good rule on site is that as soon as you are dealing with an outdoor connection / outbuilding, treat cross-section as a variable to optimise rather than a habit. The additional cost of a slightly larger cable is often far lower than the cost of returning to site — or of a customer calling back because “it works, but not very well”.
Adapt the cable type to the environment (indoors, outdoors, damp areas, buried)
Indoor installation in ICTA conduit: what really matters
Indoors, the difficult point is not “the right product” but the right routing.
-
Inside ICTA conduit, you are quickly limited by fill level (too many conductors, too many bends, difficult pulling).
A larger wire “just in case” can cost you dearly when pulling it, and again when organising the panel. - Also think about maintenance: a conduit that is too full is a conduit that is difficult to modify later.
- Inside the panel, the denser it becomes, the more the rigid/flexible choice and the connection method matter (ferrules on flexible conductors, clear identification, neat routing).
Another point that is often neglected is separation of circuits. If you run power and low-current circuits together “for convenience”, you create surprises for yourself (interference, endless troubleshooting, confusing identification). It may not be spectacular on day one, but you pay for it at the first fault.
Which cable should you choose for outdoor use (garden, terrace, outbuilding)?
Two pitfalls come up all the time outdoors:
- “It fits, so it is fine”: a cable installed exposed without protection where it can be rubbed, pinched or cut is a failure waiting to happen (or worse). Even if the cable is designed for outdoor use, the routing must make sense: sheltered where possible, protected where necessary.
- Underestimating lengths: outdoor lighting or a gate is not “just” one more circuit. Motor starting current or distance can require more serious sizing (larger cross-section or a different architecture). Voltage-drop calculators/tables are useful for making the decision without relying on intuition.
One important point following developments around the NF C 15-100 / fire requirements: for public-access buildings (ERP) and high-rise buildings (IGH), documents can be found indicating restrictions on the use of “standard” U-1000 R2V in favour of cables meeting fire-reaction classes (such as Cca…).
If you are working on this type of project, do not assume that “R2V = always OK”: check the building context and the requirements.
Buried / routed through a sleeve / damp premises: points to watch
Here you need to think in terms of mechanical protection + access + ageing.
-
Buried: avoid approximation. Some technical documents state that U-1000 R2V-type cables can be buried with additional mechanical protection.
In practical terms, think sleeve, depth, warning marking, routing areas, and remember that a buried cable is “invisible”… until the day someone digs. - Routing through a sleeve: the sleeve is not a minor detail. If it is too small, with tight bends, a simple cable pull becomes a struggle (and can damage the sheath).
- Damp premises / sheltered outdoors: cable choice must take the environment into account (condensation, run-off, UV if exposed). Some manufacturers explicitly mention outdoor use and UV resistance in their data sheets.
Which conductors should be used for earth, and why is it not handled “like the rest”?
In real life, earthing problems rarely come from a “wrong cross-section” selected from a catalogue. They more often come from very simple issues: a poorly tightened terminal, a conductor damaged during pulling, missing identification or continuity broken in a place nobody checks.
Two useful reminders:
- Blue = neutral, green/yellow = earth (that does not change).
- Phase colours can vary (brown, black, red, etc.), but it is better to keep a consistent logic throughout an installation, especially if it will be modified later.
Professional advice: avoid mistakes and save time (worksite + wiring harness production)
Quick checklist before buying / preparing (type, cross-section, environment, identification)
When an installation “gets complicated”, it is almost never because of one single bad choice. It is the sum of small decisions made too quickly. Here is a simple (and effective) checklist before buying or starting workshop preparation:
- Circuit use: lighting, sockets, motor, heating, supply to a sub-distribution board, etc.
- Planned protection: circuit-breaker rating / dedicated circuit or not.
- Actual length: not “as the crow flies”; count the routing, detours, rises and drops.
- Environment: indoors in conduit, outdoors, damp area, exposed surface installation, buried, etc.
- Conductor type: wire in conduit (H07V-*) or cable (e.g. U-1000 R2V), rigid or flexible depending on implementation.
- Number of conductors: list the requirements (phase/neutral/earth + switched lives/controls) before choosing the reference.
- Routing and fill: ICTA conduit not overloaded, bend radii, pulling points.
- Identification: colours, labels, naming logic (consistency between plans, panel and site).
- Connection: if flexible, ferrules and method; if rigid, wiring organisation (neatness, accessibility).
- Future-proofing: for an outbuilding / outdoors / workshop, plan a little more “intelligently” (cross-section, number of conductors, spare conduit capacity) rather than simply “bigger everywhere”.
In the workshop, this checklist becomes a manufacturing routing: the same questions, but with the objective of repeating the process without errors (and without wearing out operators).
In the workshop: spool organisation, identification, labelling… where the minutes are won
When manufacturing wiring harnesses or pre-wiring conduits in volume, losses do not come only from the wiring itself. They mainly come from everything around it:
- looking for the right spool,
- reloading,
- untangling,
- correcting a colour,
- reprinting a label,
- or reworking a conduit because one wire is incorrect.
This is the idea behind a ready-to-produce installation: a pre-wiring machine + peripheral equipment designed to feed, sort, guide and identify, reducing handling.
In practical terms, what makes a major difference in a workshop:
- Wire feeding: a dispenser that accepts several spools (up to 12) avoids constant reloading.
- Wire sorting / selection: a sorter that automatically selects the correct conductors avoids simple mistakes.
- Guiding and reduced handling: wire guides / guide sleeves improve routing reliability and support higher wiring speeds/lengths.
- Labelling: label printing connected to the machine and performed at the right time avoids mix-ups and omissions.
- Long lengths: depending on the configuration, a conduit pusher can increase pre-wiring length (up to a stated 80 m) and avoid unwinding difficulties.
One final point that is often underestimated: ergonomics. Manual wire insertion involves repetitive movements and fatigue. With regular production, this is not a minor detail; it is a business-continuity issue. Hence the value of a machine designed around the operator and the prevention of musculoskeletal disorders.
Rigid or flexible: which should you prioritise when inserting wires into conduit while manufacturing wiring harnesses?
If you are producing in series, a poor choice is immediately obvious: it jams more often, requires manual “help”, or creates small inconsistencies (lengths, identification, coil organisation) that accumulate.
A good workshop approach is to test (with your conduit, your lengths and your references) and look at three very simple indicators:
- average time per conduit,
- number of interruptions / reworks,
- output quality (labels, coiling, readability, inspection).
This is also why test stations / showrooms exist, allowing ergonomics and speed to be tested under real conditions before investing.
When to seek support: workshop audit, layout, commissioning, maintenance
There comes a point when “buying a machine” is not enough. As volume increases, the challenge becomes the overall organisation: layout, flows, spool storage, operator movement, inspection and packaging areas.
In the Mecaspin context, support is structured around:
- an audit of the existing workshop,
- quantification of the gains,
- then optimisation / layout of a complete installation.
Then you need to think about real-life operation:
- commissioning,
- final adjustments,
- operator training,
- production trials.
Not forgetting maintenance:
- suitable contracts (hotline, interventions),
- software updates,
- performance audits,
- regular inspection points.
Conclusion
Choosing the right wires and cables is not a matter of a “universal recipe”. It is a method. If you keep the order conductor type → cross-section → environment → organisation/identification, you avoid most of the mistakes that waste time or reduce installation quality.
Key points, in practical terms:
- Wire or cable: wire in conduit is flexible and practical indoors, while multicore cable simplifies certain connections and outdoor installations.
- Cross-section: start with the circuit and its protection, then adjust as soon as the length becomes significant (voltage drop).
- Environment: outdoors, in damp areas or buried, think in terms of resistance + mechanical protection + future access.
- Identification: a neat installation is an installation that can be inspected and troubleshot quickly.
- Workshop / wiring harnesses: conductor choice is not judged solely “from the catalogue”, but by production consistency (time per conduit, rework, errors). Pre-wiring solutions and their peripheral equipment (feeding, sorting, labelling) exist precisely to secure these points.
If you want to industrialise or improve the reliability of your preparation (pre-wiring, inserting wires into conduit, wiring harness manufacturing), or simply reduce rework and increase throughput, Mecaspin can support you with workshop audits, layout, showroom trials, commissioning, training and maintenance.